Monday, February 7, 2011

Judy's Magic Cast On, a-la-Jeny (video demo)

New! as of 6/19 2022, here is a video demonstrating the kinetics of  the method illustrated below. 


A bit over a year ago, I posted my version of Judy's Magic Cast On, which is very similar to the traditional version except that I start on the bottom needle. My original post is here. Then sometime after that, I re-engineered the first step, to make casting on easier and to make the end result neater. In the meantime, I also got some more practice using Adobe Illustrator. So I now present to you some updated illustrations of this excellent provisional cast on brought to you by the extremely clever & creative Judy Becker. In the illustrations below, blue indicates the working yarn, held with the thumb and wrapped over the top needle. Red indicates the tail, held with the forefinger and wrapped over the bottom needle. Starting position:

Position the 2 tips of a circular cable pointing to the left, and wrap the yarn around the bottom needle like so. (This will become your first cast on stitch.) Hold the working yarn with your thumb. Hold the tail with your forefinger. Step 1: Cast on the first top stitch. Bring the working yarn up behind the bottom needle and in front of the top needle.

Now swing your hand down behind the needles, as shown by the arrow. This will bring the working yarn over and around the top needle. The result will look like this. You have now cast on two stitches: one on the bottom needle, and one on the top needle.

Step 2: Cast on the next bottom stitch. Bring the tail up in front of the bottom needle and behind the top needle.

Step 3: Cast on the next top stitch. Bring the working yarn up behind the bottom needle and in front of the top needle, just as you did in Step 1. Swing your hand down behind the needles... ...and you will have two stitches on each needle. Repeat steps 2 and 3 until you have cast on the desired number of stitches. Then you can continue to knit with your working yarn.

Saturday, August 7, 2010

Mobebius Cast On: the way I do it

A well-known way to cast on a moebius is Cat Bordhi's method. This is the first one I learned, and it served me well for many a moebius. But, true to my nature, I eventually got curious about other possibilities. After a litte web research and some playing around on my own, I found that there are, in fact, many ways to start a moebius. In this post, I'll show you my (current) favorite way to do this.

I spent some time deconstructing Cat's method, and found that it was very similar to the classic looping provisional cast on, the key difference being that you're looping your working yarn around the cable, rather than a length of waste yarn. Kinetically, these methods are very different, but the end result is quite similar. This gave me the idea to try to adapt other provisional cast ons for moebius purposes.

The method described below is adapted from the Turkish Cast On, commonly used for casting on toe-up socks. Turkish cast on is about as simple as you get -- it's just a continuous series of wraps around 2 needle tips. But it gets a little tricky when you adapt it to a moebius. Instead of just holding onto the yarn and wrapping it around and around, you are wrapping it around a cable ring, so you have to reposition your hand with each wrap. But despite this little inconvenience, I find it's the easiest and friendliest moebius cast on.

Start with a 40" cable needle.

Step 1
Tie a slip knot into the end of the yarn, and place it on your R needle.
Loop the cable around, and lay it in front of the knot and the working yarn.
Hold the yarn behind the needle and cable.

It should look like this:


Step 2
Release the yarn and move your hand around to the front of the cable.


Step 3
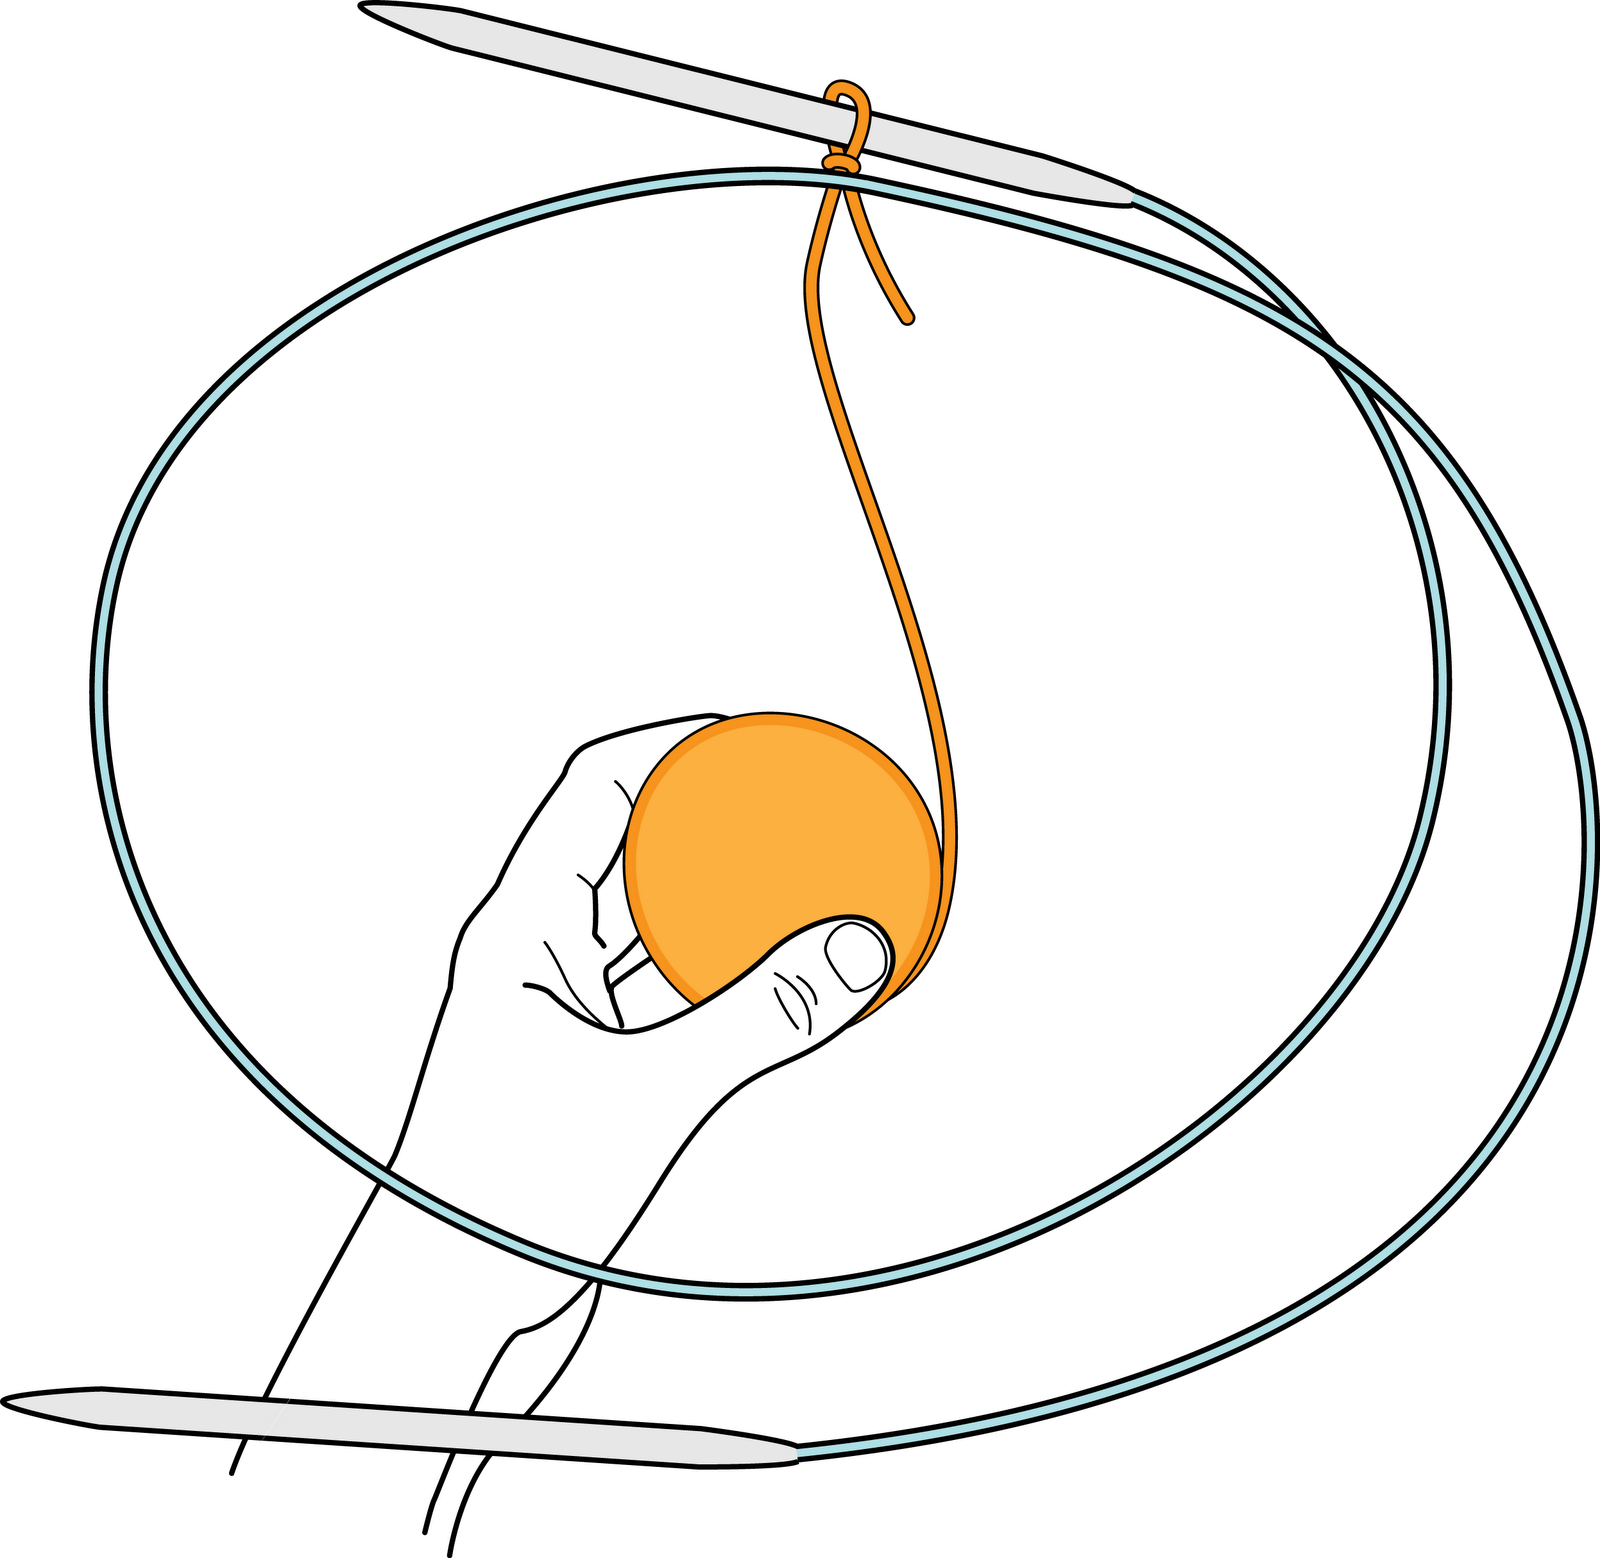
Grasp the ball of yarn from the front of the cable.


Step 4
Holding the yarn, bring your hand above the needle.


Step 5
Bring your hand back down below the needle. Yarn now wraps around the needle and cable.
This is your first Moebius stitch. When counting sts for final width, count this wrap as one stitch.


Repeat steps 2-5 to make more wraps. As you continue to wrap, slide your cast-on stitches to the right, so they slide off the R needle and onto the cables.

By the way, as you slide your wraps onto the cables, do not pull out the extra slack. The wraps need to be loose enough to slide around and onto your other needle.

When you’ve cast on enough sts to go all the way around your cable needle, your work should look something like this. Place a stitch marker on your right needle to indicate your starting point. Work the first stitch on the L needle, indicated with the arrow.

With your stitch marker in place, work the first stitch on the L needle and continue around.

Notice how your slipknot is now on the cable. It started out on the R needle, and as you continued to cast on your moebius stitches, it moved clockwise around your cable to this position.

After you’ve worked all the cast on stitches (once around, or half of 1 moebius round), your slipknot will be on the tip of your L needle, and your stitch marker will be on the cable. Pretty cool, eh?

So, now you know how I like to do it. But if you, like me, are still curious about other ways to cast on for your moebius, here are some links you might find interesting.
Toroidal Snark - sarah-marie belcastro describes a variety of ways for casting on.
Iris Schreier's moebius cast on - video demonstrating an alternative way of casting on -- the result is kindof like Judy's Magic Cast On a-la-moebius.

Thursday, July 1, 2010

A little ditty about Illustrator

My blog has been calling to me lately. "Feed me! Feed me!"

I’m in the middle of several unfinished projects that are not ready for blogging. But I do have a little ditty to share about Adobe Illustrator. This post might be useful if you are interested in learning how to make your own knitting illustrations, and it assumes you have working knowledge of Illustrator. Please see my previous post on this topic, "Knitting with Illustrator," for more on this.

Many thanks to Lindsay (Ravelry ID = lynzele) for sending along this extremely helpful tip!

Have you ever noticed the Appearance window in Illustrator? Little did I know the power of this tab…


If you’ve read my blog post "Knitting with Illustrator," you know that I was creating an outlined path of yarn by

  1. drawing a curve,
  2. copying that curve,
  3. pasting the copy behind the first curve, and
  4. changing the color and increasing the stroke width of the copy.

This meant that for every segment of the yarn path, I had two objects in the Layers window. There are a LOT of yarn segments. Getting them all into the right order was a downright pain in the ass.

Thanks to Lindsay, I now know I can cut the number of objects in half, because of the option to duplicate the path in the Appearance window:


Now I can draw a path, duplicate it in the Appearance window, and I still have only one object in the layer.

(Click on any photo below to enlarge)


I can even give different properties to the two different strokes of the object. The image below shows a duplicate path in which the thicker black stroke has butt caps, and the thinner pink stroke has rounded caps.


So, here’s a little exercise. Let’s draw an overhand knot using our newfound knowledge of this feature. If you were to take a piece of rope and tie a simple overhand knot, it should look like this:


If I draw the path of this knot with the pen in Illustrator, it should look like this below:


In order to make the Illustrator path look like a knot, some portions will have to move forward, and other portions will have to move back. Illustrator doesn’t let you weave a single path the way you can weave a physical piece of rope (alas), so you’ll have to copy segments of the path and layer them in order.

First, increase the width of the stroke so it’ll look more like a knot, and less like a thin pretzel. Then, in the Appearance window (lower right), click on Duplicate.


With the top stroke in the Appearance window highlighted, and the path selected, change the color of the top stroke. Let’s make it hot pink…


Now decrease the width of the top stroke. You can make this change in the Stroke window (right above Appearance in this screen). In this case, decreasing the pink by 1 point looks right for depicting an outline.


Using the direct selection tool, click on the curved segment on the left side of the knot. The handles in the image below indicate which path segment is selected.


Now copy the segment (Ctrl-C) and paste it in front (Ctrl-F). The image below shows these commands in the Edit menu, in case you are not a shortcut-junkie like me.


Now select the path segment that runs through the middle-left.


Paste this segment in front. Note that the new segment will be on top of the main path, but will be below the first path segment you created.


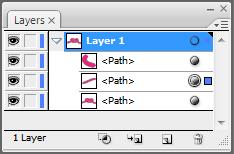
The Layers window might be an easier way to see the order in which the paths sit on top of each other. See that little blue square? That indicates which path is active -- in this case, the middle-left segment in the image above.


Repeat this process with the last segment. Copy the segment with the direct selection tool and paste in front.


You now have something that looks like a knot. You might notice, however, that the ends of the segments are visible. To hide the ends, you can round them off.


  1. Select each of the line segments you just created (use the Selection tool -- the black arrow -- for this, or just click on each segment in the Layer window).
  2. Highlight the top path (the pink one) in the Appearance window.
  3. Click on the Rounded Ends button in the Stroke window.

Voila!